Disclosure: I received a complementary Genteel lancing device for review. All opinions are my own.
A lancing device that is painless and can be used on body sites other than fingers, for a cool $129? Yeah, right. And, no way.
Lancing devices are really cheap, typically under $15. Many of them come free with meters. V does not find lancing painful or has a fear of needles. Besides, our trusty lancing device is cute, little and super easy and convenient to use. So why in the world would we spend all this money on a device double the size of ours, costs a gallon worth of premium blood, and is something we don’t really need in the first place?
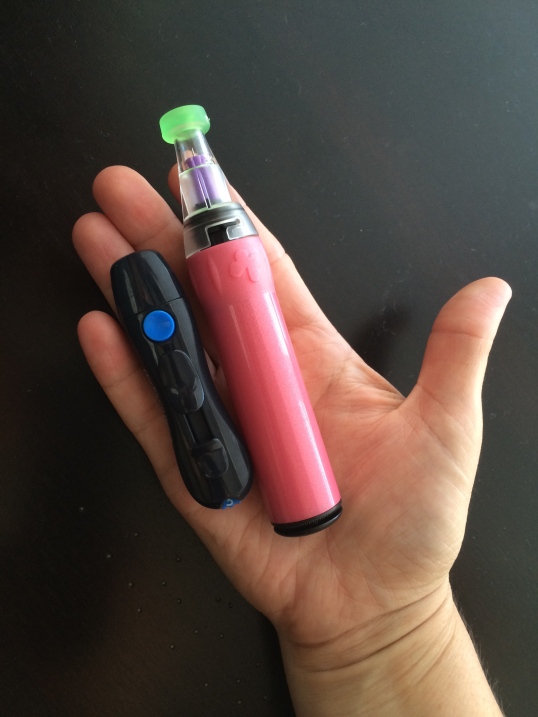
- Our old lancing device vs. Genteel
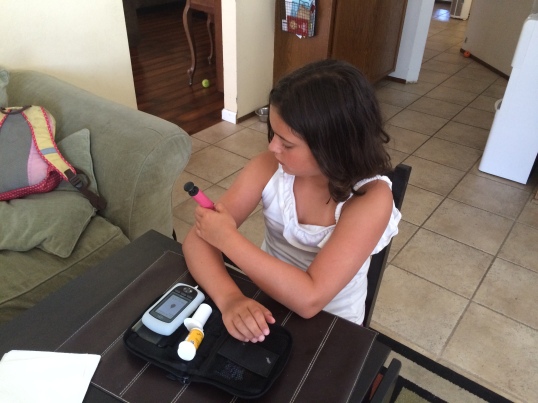
Thus, when I agreed to review Genteel, I approached it with a healthy dose of skepticism. However, truth be told, I was also very intrigued. Can it deliver what it promises? Is it really pain free? Even more so, can it really be used to accurately test BG using other body sites? After two years of poking her fingers 8-10 times a day, V’s little fingertips are like pin cushions. While she does not find lancing painful per se, she does feel the pricks, and it can be uncomfortable. She tends to over-use some fingers, and it would be really convenient to use alternate testing sites to give her fingers a break. With that in mind, V and I eagerly took to test-driving Genteel, with the goal of giving it a thorough workout.
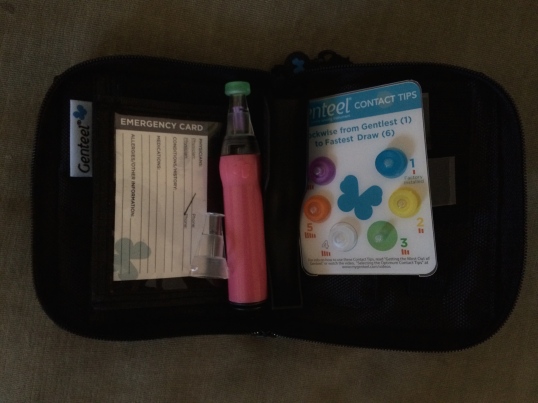
I won’t bore you with the details on how Genteel works, what it comes with, or other specs. The product website has all of this useful information and more. I’m going to jump straight to our experience with this device.
There was definitely a learning curve at first with assembling the device and figuring out how to use it properly. I had to remember to push the activation button long enough and then to release it before breaking contact with skin. I also had to remind myself to keep my fingers off of the push cap. After I felt comfortable using Genteel and could vouch to V that I really did not feel any pricking, it was time for her to try it. (Please note: Genteel is designed for single user only. Because I’m a rebel, I broke the rules and used it for both of us. I made sure to carefully clean and disinfect nozzles and contact tips before testing my daughter.) She enthusiastically took to the task and I have to admit that she learned to use Genteel a lot quicker than me. Happily, she declared it to be pain-free! We stuffed it into V’s OmniPod case and began using it as our main lancing device.
Does it fulfill its promise of painless lancing? In our experience, yes. We both tested BG on fingers, arms, shoulders, above the knee, and on other body sites, with good success. There is a catch, however. Unlike regular lancing devices that have a dial to change the strength and depth of lancing, Genteel uses different contact tips that need to be fitted on a nozzle. It is definitely trickier and it is not practical to change the tips back and forth. You need to figure out which contact tip works best. The blue tip, the most gentle one, worked great on fingers. However, it was not strong enough to draw blood on alternate sites. The green contact tip painlessly drew enough blood on alternate sites but was not painless on fingers. It was not exactly painful, but it felt more or less like a regular finger prick. Genteel does come with two nozzles, so you can put a different tip on each nozzle and change nozzles when needed, which is a lot easier than changing contact tips. Still, we are so used to the ease of turning a dial that carrying a different nozzle and having to change it depending on where we want to test was unappealing to us. So we came up with a compromise: V settled on a green contact tip, given that our main objective was to use Genteel on alternate sites. We still carry our regular lancing device if we want to test on fingers, although we can also use Genteel but not expect it to be completely painless. Also, pro tip for you: do not use Genteel without a contact tip. Because OMG OUCH!
Technically, Genteel is supposed to work with any square-shaft lancets. However, the website provides a list of lancet brands that work best as well as those that are not compatible or do not work as well. We did get good results when using lancets recommended by the company. When we tried to use Abbott brand lancets, even though they fit properly, we could not draw blood reliably, so we tossed them and are sticking with the One Touch brand.
Speaking of tossing the lancets… Genteel does not have a function to eject used lancets. I am not a big fan of manually pulling lancets out and for the life of me I can never keep the little round lancet tips that you are supposed to put back on before pulling lancet out. They end up on the floor or just magically grow legs and run away. With our regular lancing device we are were pretty diligent about changing lancets right away. With Genteel, pretty quickly we decided it was not going to happen. I change the lancet about once a day now, even in our old device. Eh, if you can’t beat them, join them, right? As long as the lancet is working well, we are not going to worry about it too much.
- We’ve gone to the dark side and we are not coming back
Another thing I found myself doing at least once a day is rinsing nozzles and contact tips. Blood smearing on the inside of nozzles and contact tips is inevitable. Instructions purport that if you use Genteel properly it won’t happen. Ha, welcome to the real world! Sometimes our technique is not perfect. Other times we think it’s perfect but blood smears still happen. The nozzles are clear so you can see right away if there is blood on the inside. It does not present any safety issues or affect function, so it’s more about how grossed out you will get.
We hope Genteel holds up for a while. We are not gentle with our gadgets, and I would expect it to withstand all kinds of abuse if it’s meant to be used for and by kids. Within the first few days V did something to it and it literally fell apart. Nothing was broken, my husband was able to put it back together, and it’s been fine ever since. The company offers a 120-day money back guarantee for any reason, and a manufacturer’s limited 5-year warranty after that.
All the shortcomings notwithstanding, we grew rather fond of our Genteel after only two weeks of using it. Yes it’s bigger, but it is still small enough to fit in V’s pump case. Yes it’s a little different and awkward at first, but we got used to it quickly. Yes it’s expensive, but we think it’s worth it. It is painless, which is awesome. Even more awesome is our newfound freedom to use alternate lancing sites. We test V’s fingers only a couple of times a day now, at most. And the convenience of being able to draw blood easily and painlessly from other body sites can’t be beat. We love it at the park, where V’s fingers get completely filthy but her tummy is nice and clean. We love it at the beach, where fingers are always sandy and wet, but we can just wipe off a little spot above the knee or on the arm.

- Sandy, wet fingers are not ideal for BG testing
I also love it for nighttime checks because I no longer have to dig out little fingers from underneath a pillow or ten layers of covers. I even totally replicated the idyllic experience depicted on a website photo, where a Mom is testing her unsuspecting soundly asleep child by lancing her shoulder.
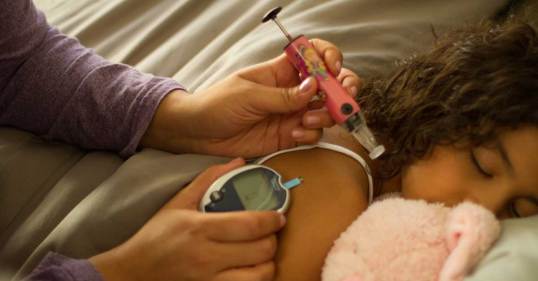
- Idyllic night-time BG check. Image credit: mygenteel.com
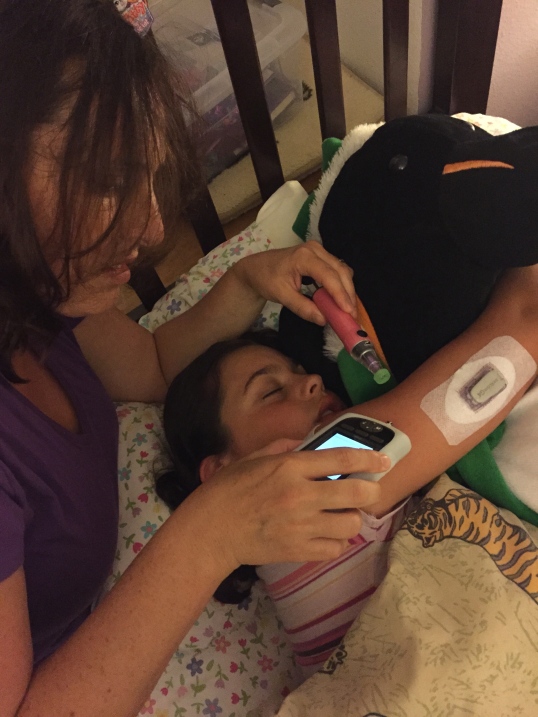
- Our more realistic version of a night-time BG check. Less idyllic, more frazzled and tired. No gigantic stuffed animals were harmed during this photo shoot.
Now that it’s been warmly accepted into our diabetes gadgets family, perhaps it’s time for V to decorate her Genteel with stickers it came with.
P.S. Do you have any questions about Genteel that my review did not cover? Please ask in comments. I could not possibly fit all the info I wanted to include in this post, as it’s already quite a beast in length.


